Babies and Weddings

An area to upload images of pieces cut using VCarve Pro
Post Reply
Mobius
Vectric Wizard
Posts: 413
Joined: Wed Jul 09, 2014 1:19 am
Model of CNC Machine: CRP Pro 4848 Custom Build
Location: Drumheller, Alberta, Canada
Contact:

Babies and Weddings

Post by Mobius »

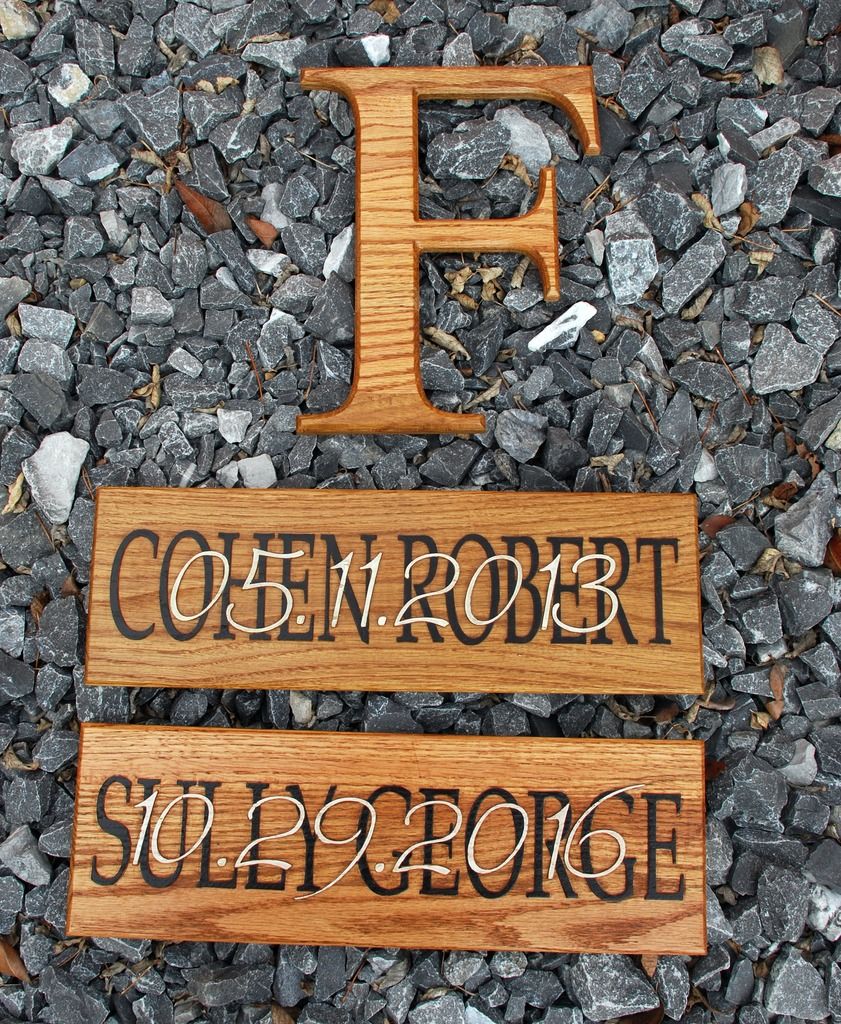
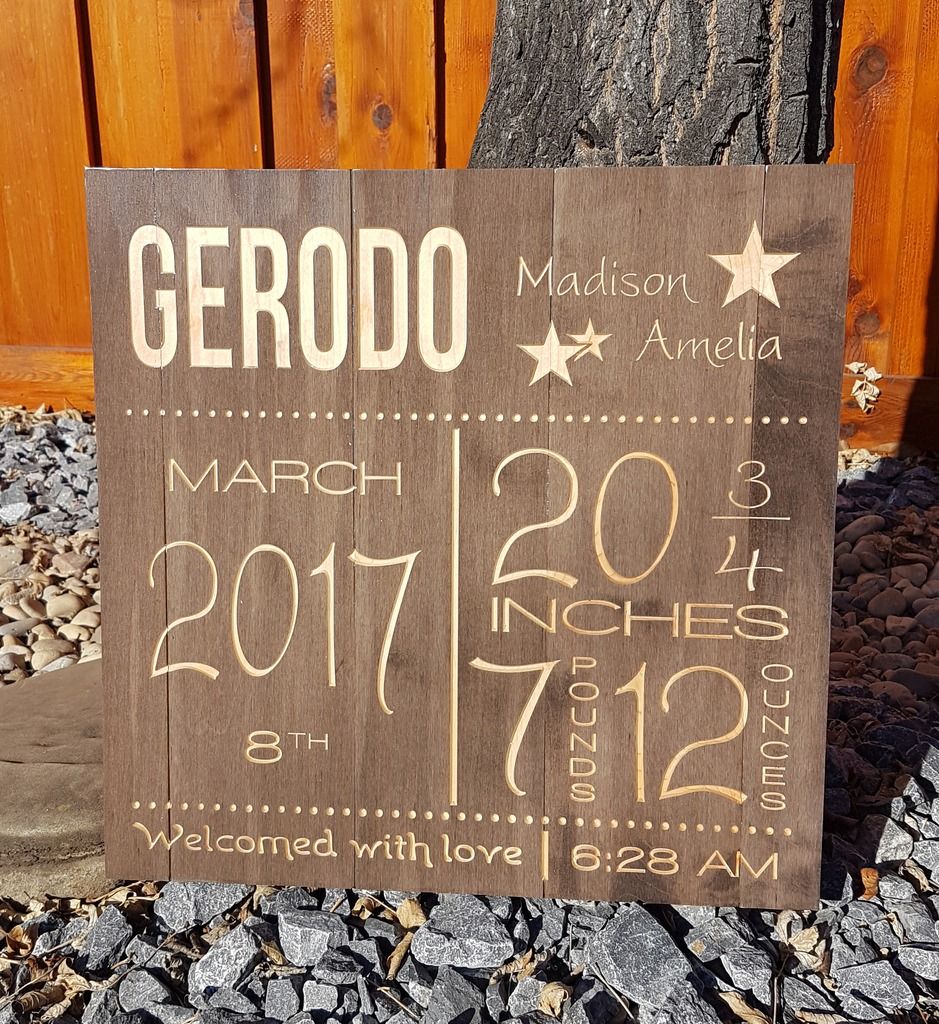
Few of the latest out of the woodshop:

Image

Image

Image

Image
Connor Bredin
Distinctive Dimensional Concepts Ltd.
www.distinctive-concepts.ca

Mobius
Vectric Wizard
Posts: 413
Joined: Wed Jul 09, 2014 1:19 am
Model of CNC Machine: CRP Pro 4848 Custom Build
Location: Drumheller, Alberta, Canada
Contact:

Re: Babies and Weddings

Post by Mobius »

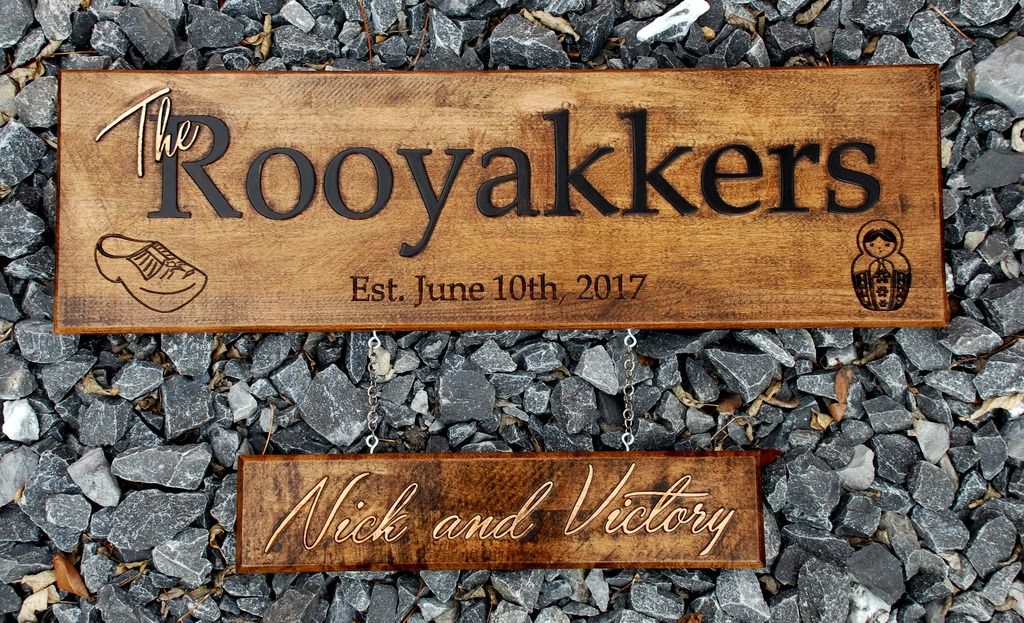
And another:

Image
Connor Bredin
Distinctive Dimensional Concepts Ltd.
www.distinctive-concepts.ca

User avatar
highpockets
Vectric Wizard
Posts: 3667
Joined: Tue Jan 06, 2015 4:04 pm
Model of CNC Machine: PDJ Pilot Pro

Re: Babies and Weddings

Post by highpockets »

Very creative work Conner. Thanks for sharing and giving me some ideas :D :D :D
John
Maker of Chips

sluggo
Vectric Craftsman
Posts: 103
Joined: Sun Nov 03, 2013 11:35 am
Model of CNC Machine: ShopBot PRS 96x48
Location: Malabar, Florida

Re: Babies and Weddings

Post by sluggo »

Wow, those signs are AMAZING! I hope to one day be able to do that!

Charlie

User avatar
dwilli9013
Vectric Wizard
Posts: 1237
Joined: Mon Sep 30, 2013 12:45 am
Model of CNC Machine: 3 axis Self Designed Self Built
Location: Machesney Park Illinois

Re: Babies and Weddings

Post by dwilli9013 »

Nice work they all look great.
D-Dub
Dwayne
Dwilli

Bonch
Vectric Apprentice
Posts: 99
Joined: Tue May 10, 2016 2:31 pm
Model of CNC Machine: Shapeoko

Re: Babies and Weddings

Post by Bonch »

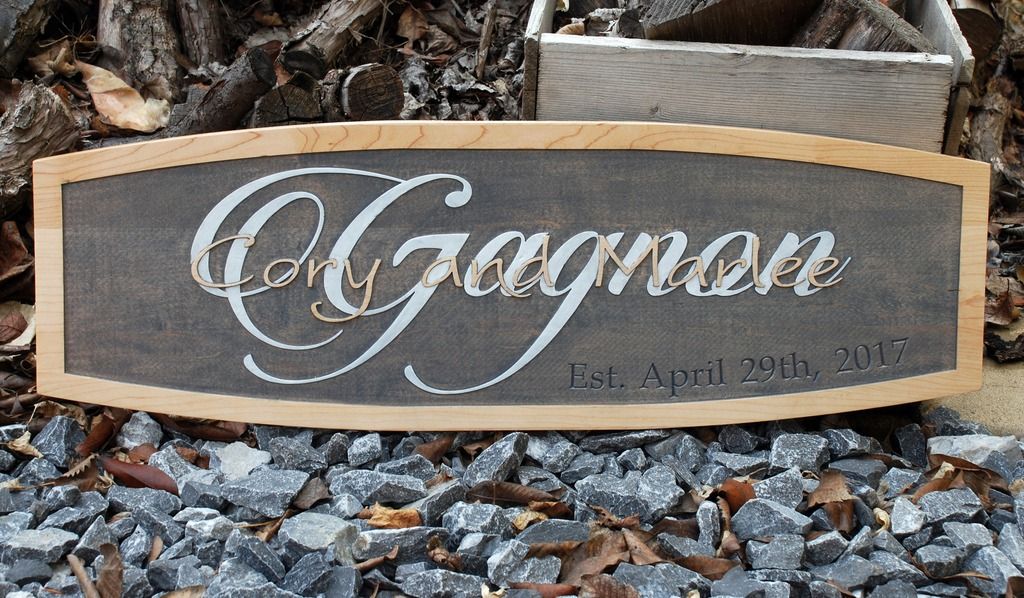
Would you cover your staining technique for the Cory and Marlee sign or point me to some literature on how it is done.

User avatar
Rcnewcomb
Vectric Archimage
Posts: 5915
Joined: Fri Nov 04, 2005 5:54 am
Model of CNC Machine: 24x36 GCnC/WinCNC with ATC
Location: San Jose, California, USA
Contact:

Re: Babies and Weddings

Post by Rcnewcomb »

Mobius/Connor Bredin,
You have a very distinctive style.

Can you tell us how it came about, and what your approach is when you design a project?
- Randall Newcomb
10 fingers in, 10 fingers out, another good day in the shop

Mobius
Vectric Wizard
Posts: 413
Joined: Wed Jul 09, 2014 1:19 am
Model of CNC Machine: CRP Pro 4848 Custom Build
Location: Drumheller, Alberta, Canada
Contact:

Re: Babies and Weddings

Post by Mobius »

Bonch wrote:Would you cover your staining technique for the Cory and Marlee sign or point me to some literature on how it is done.

Sure, my process was as follows:

1. Cut and sand the entire sign

2. Take a small brush and cover the top face of the first name lettering with gloss clear. Let this fully dry before moving on. This ensures that stain from the following steps doesn't soak into the wood on these areas.

3. With a small brush, paint the top surface of the surname lettering. For that sign I used a whitewash stain. It took 2-3 coats.

3a. After the whitewash was dry, I brushed on a single coat of a non-yellowing semi-gloss clear over the top face of the surname lettering to protect the white from the next step.

4. After the whitewash clear was dry, I took a brush and rag and liberally coated the entire inside of the sign with a grey stain. I let it soak in for a minute or so, then wiped the excess off.

5. After the background stain dried overnight, I block sand the top face of the first name lettering to bring it back to the natural light birch/maple colouring.

6. I then spray a non-yellowing semi-gloss clear over the sign and I'm done! Total time to colour the sign is about an hour (not including wait time between the staining stages and clear coats).
Connor Bredin
Distinctive Dimensional Concepts Ltd.
www.distinctive-concepts.ca

Bonch
Vectric Apprentice
Posts: 99
Joined: Tue May 10, 2016 2:31 pm
Model of CNC Machine: Shapeoko

Re: Babies and Weddings

Post by Bonch »

Mobius wrote:
Bonch wrote:Would you cover your staining technique for the Cory and Marlee sign or point me to some literature on how it is done.

Sure, my process was as follows:

1. Cut and sand the entire sign

2. Take a small brush and cover the top face of the first name lettering with gloss clear. Let this fully dry before moving on. This ensures that stain from the following steps doesn't soak into the wood on these areas.

3. With a small brush, paint the top surface of the surname lettering. For that sign I used a whitewash stain. It took 2-3 coats.

3a. After the whitewash was dry, I brushed on a single coat of a non-yellowing semi-gloss clear over the top face of the surname lettering to protect the white from the next step.

4. After the whitewash clear was dry, I took a brush and rag and liberally coated the entire inside of the sign with a grey stain. I let it soak in for a minute or so, then wiped the excess off.

5. After the background stain dried overnight, I block sand the top face of the first name lettering to bring it back to the natural light birch/maple colouring.

6. I then spray a non-yellowing semi-gloss clear over the sign and I'm done! Total time to colour the sign is about an hour (not including wait time between the staining stages and clear coats).

Thank you so much for the teaching. I hope to be able to duplicate one as well as you have done here.

Post Reply